Key Takeaways:
- The window replacement process includes planning, measuring, selecting, removing, and installing.
- Your window choices—like steel casement windows or awning hoppers—affect thermal, visual, and cost outcomes.
- Prep work and communication with your installer help ensure a smooth experience.
- Careful installation protects against leaks, air loss, and weak points in your building envelope.
- Partnering with Euroline Steel Windows and Doors means top-tier service and products engineered for beauty and strength.
Getting Started with Your Window Replacement
Replacing your home’s windows and doors may sound simple, but it’s a major project that affects your comfort, design, and even energy bills. Whether you’re upgrading to steel windows, replacing older casement windows, or installing a sleek curtain wall system, it’s helpful to know what’s coming.
In this step-by-step guide, we’ll walk you through what to expect during a window replacement project—from the first call to the final seal. With 2025’s focus on energy efficiency and smart materials like thermal steel and insulated glass, a well-planned project makes all the difference.
Step 1: Consultation and Choosing Your Window Style
The process usually starts with a consultation. During this step, a professional will come to your home, review your current window types, and discuss your goals.
Do you want better airflow? A more modern look? Improved insulation?
You’ll also review styles like:
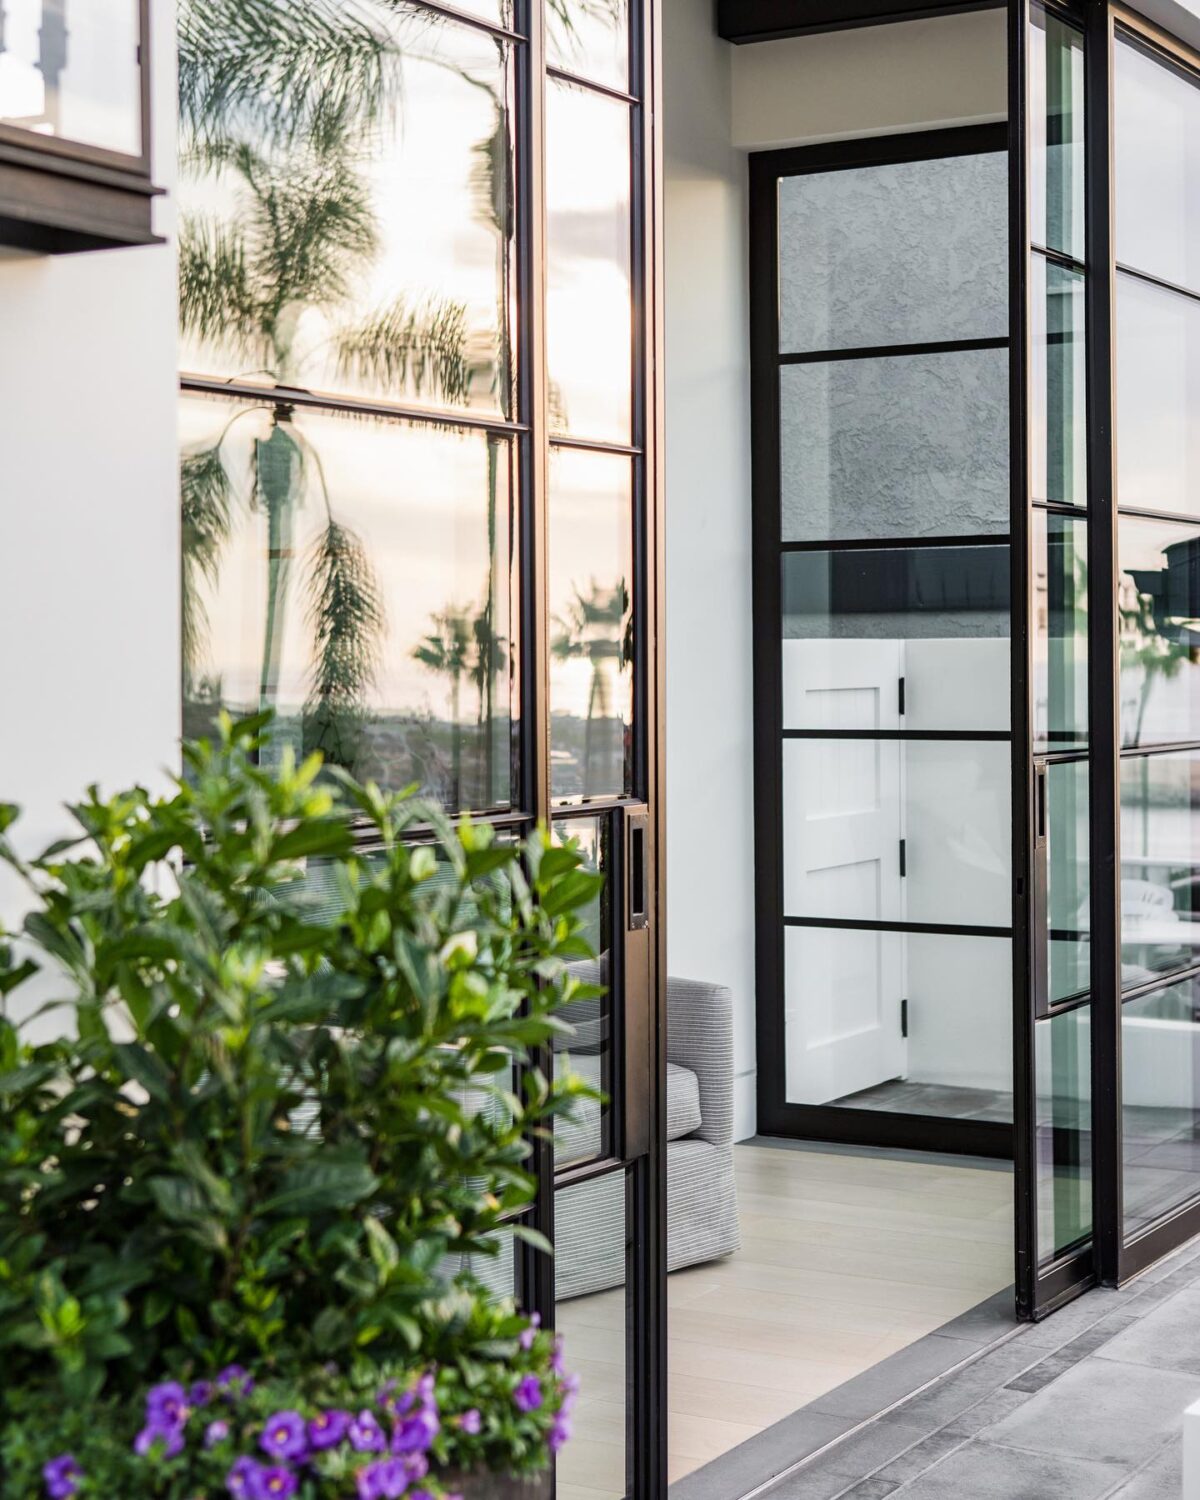
- Steel casement windows for strength and clean lines
- Awning windows and window hoppers for compact, practical ventilation
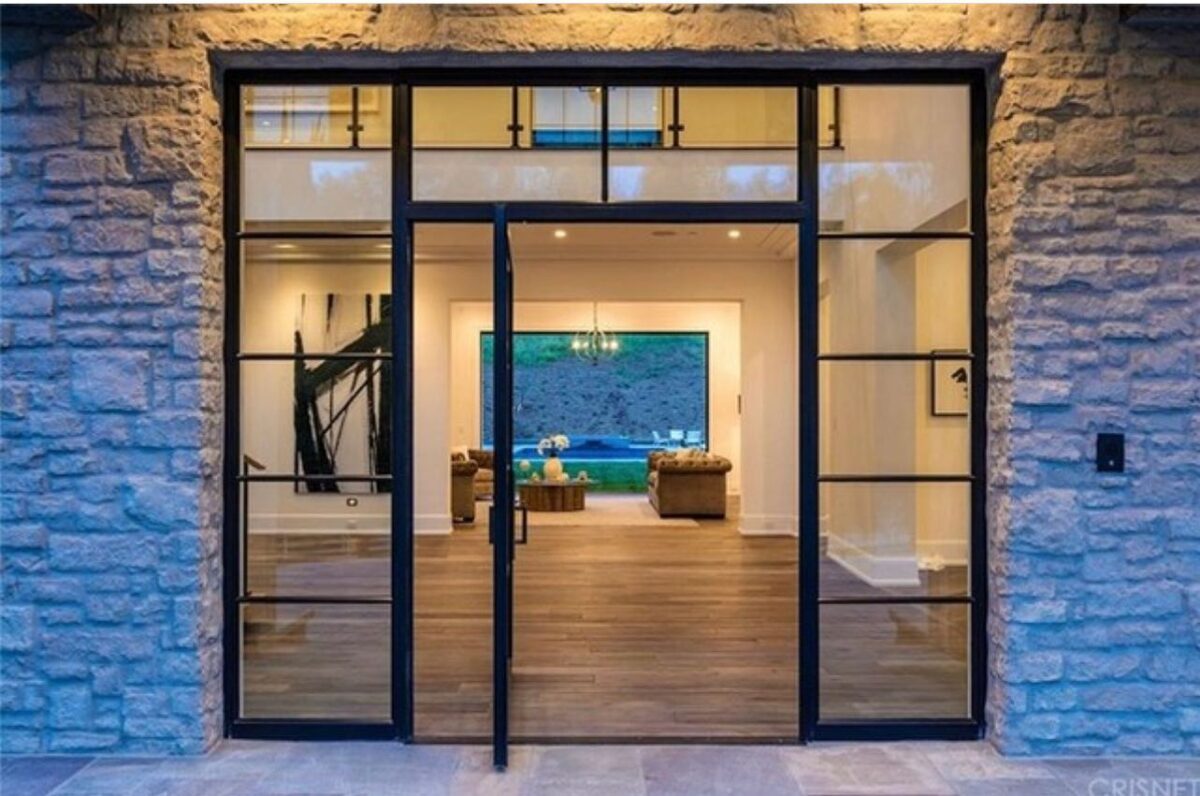
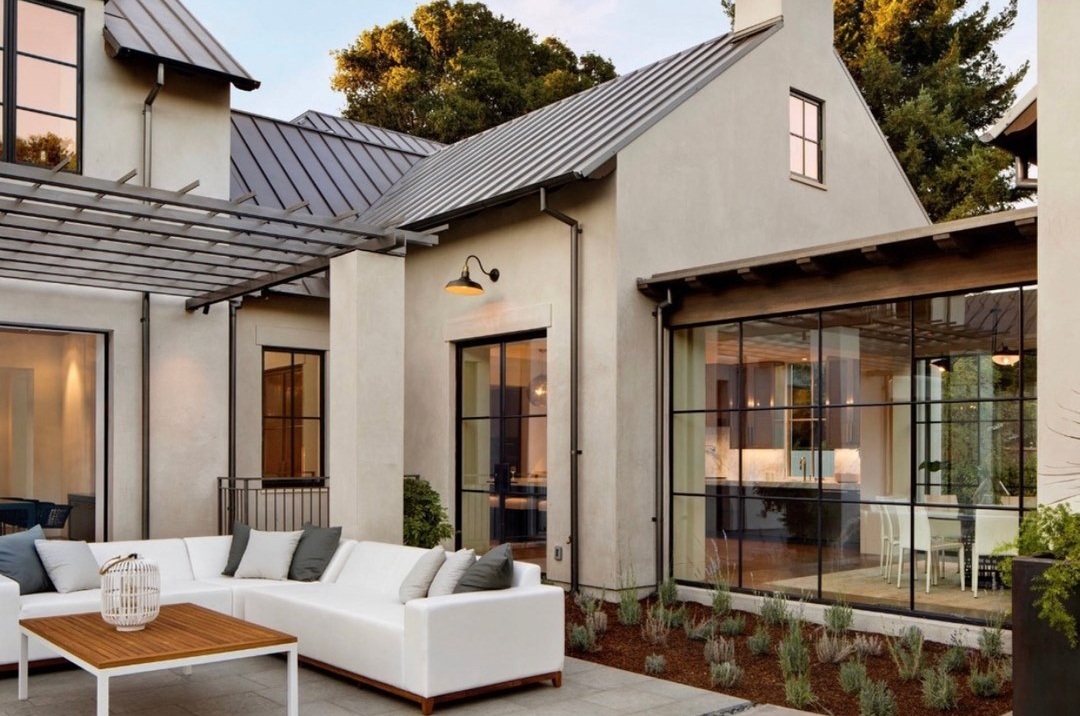
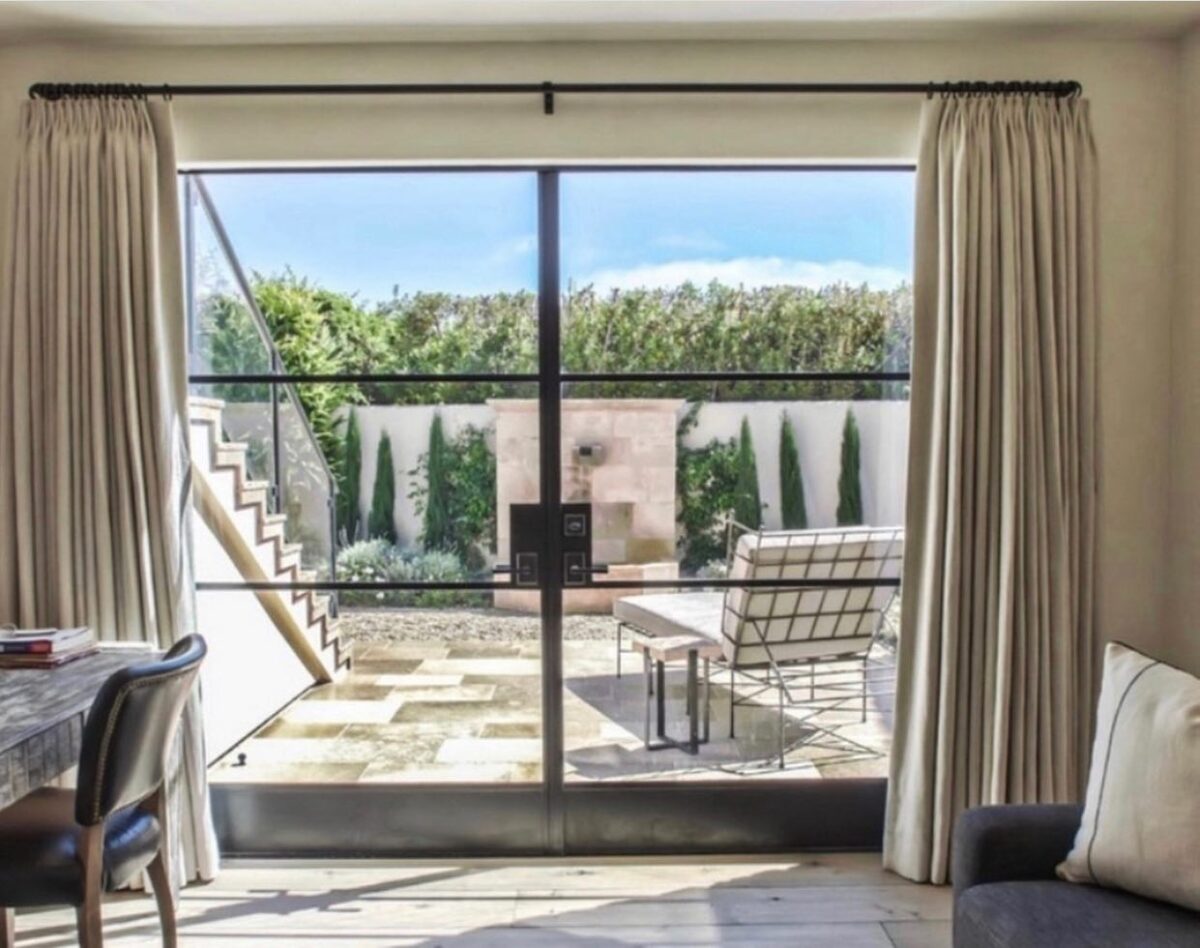
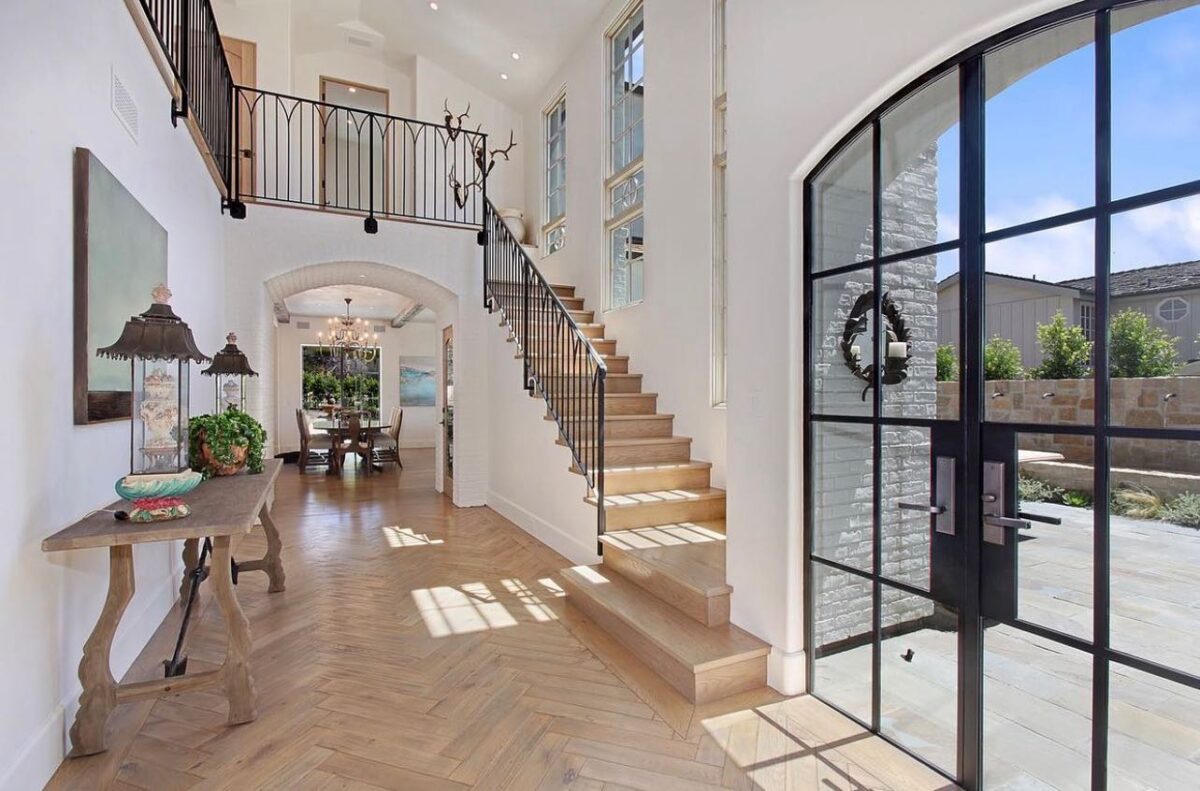
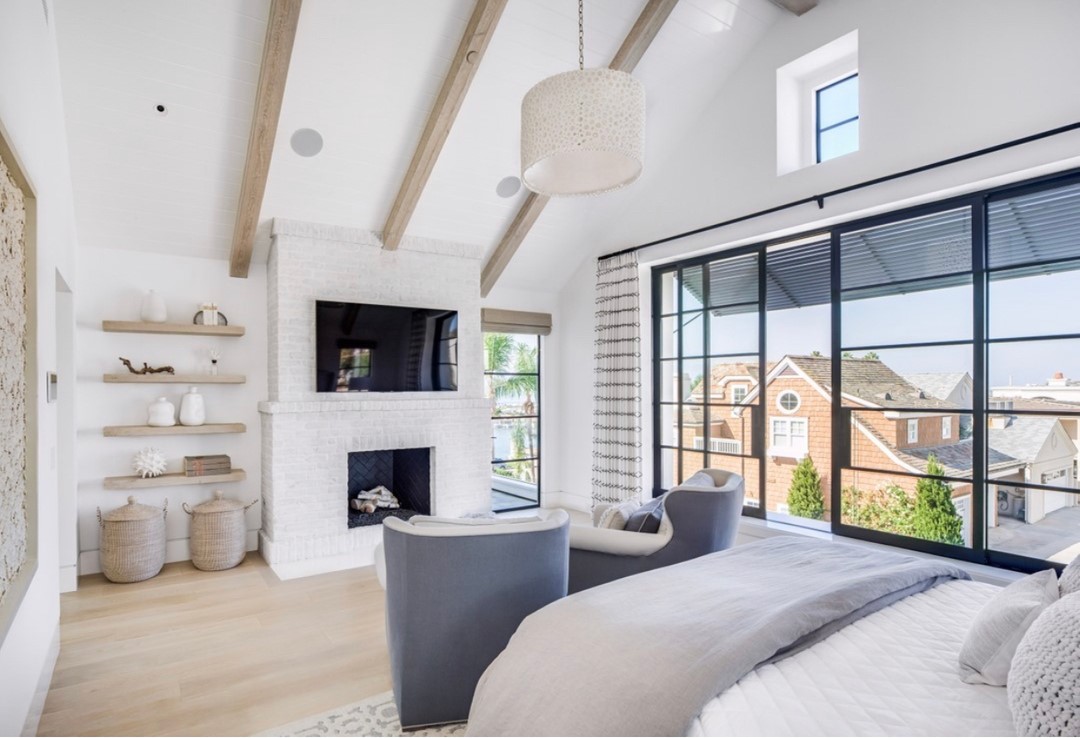
- Curtain wall windows for dramatic floor-to-ceiling views
- Fixed panel picture windows or arch top windows for timeless design
At Euroline Steel Windows and Doors, we offer custom window families built for design flexibility, including classic French casement windows, GLASSvent® windows, and steel awning windows for tailored solutions.
Step 2: Measuring and Evaluating the Structure
Once your style is chosen, the next step is a detailed site evaluation. Here, installers take precise window frame measurements and assess the building structure.
They’ll look for any issues with:
- Water damage
- Rotting or shifting frames
- Out-of-code materials
- Needs for structural support
This step ensures your replacement windows fit correctly and that your home complies with building codes, including seismic requirements and California’s Title 24 for energy compliance.
Step 3: Selecting Materials and Glazing Options
Now it’s time to choose the materials and glazing technologies. Your decision here directly affects thermal performance, maintenance needs, and longevity.
Material Options:
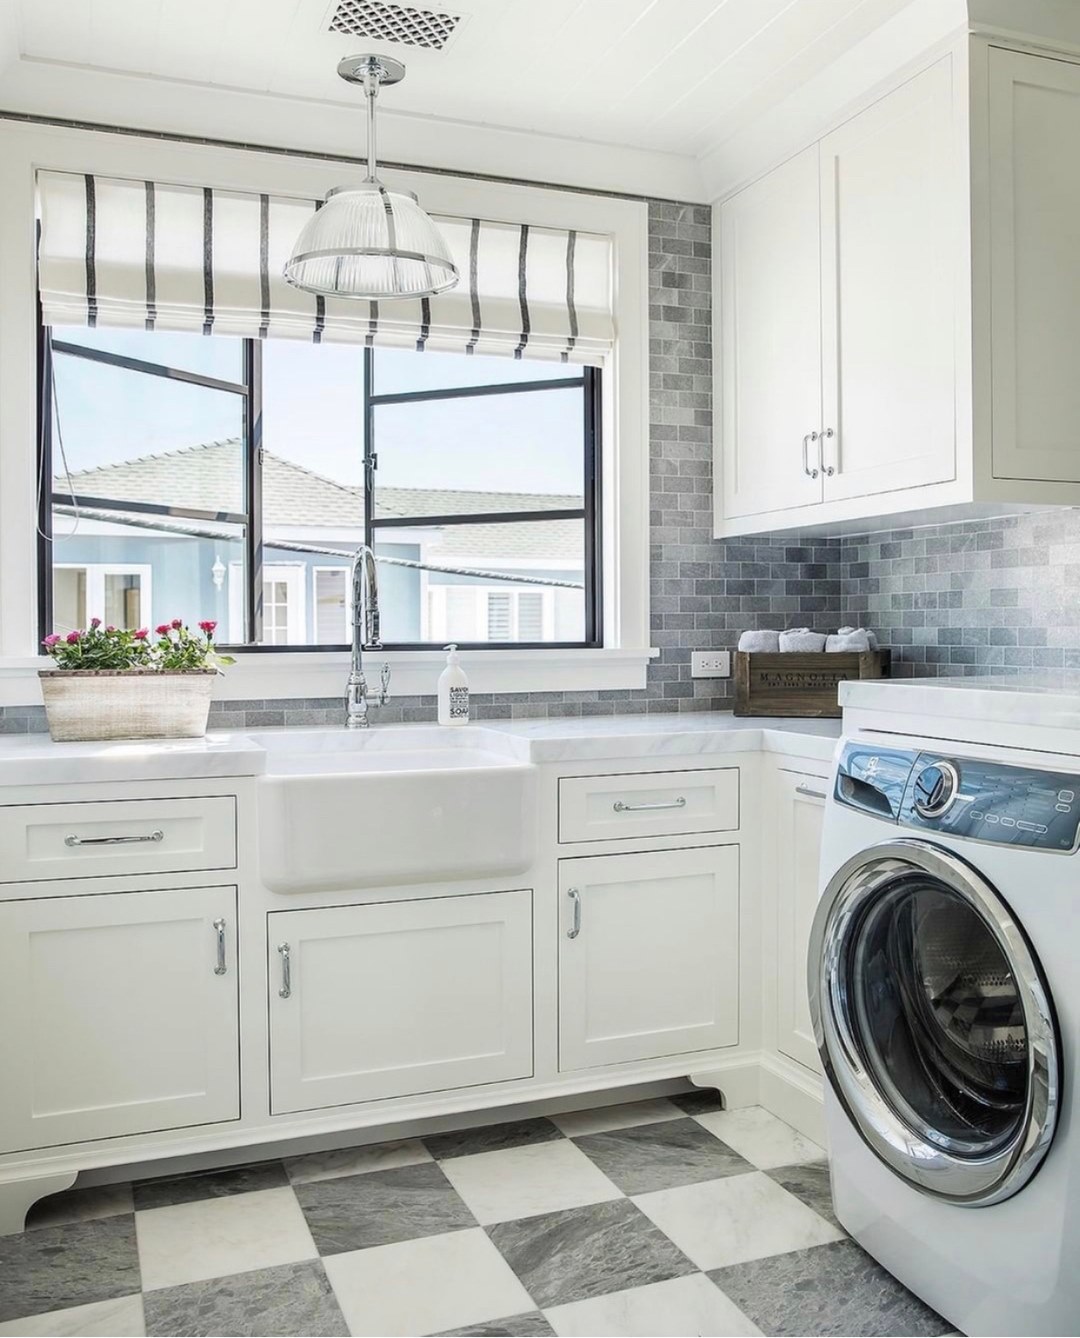
- Steel Windows – Strong, slim, and long-lasting
- Wood Windows – Natural and traditional but need more upkeep
- Fiberglass Casement Windows – Lightweight and efficient
- Vinyl Windows – Budget-friendly but less durable
- Aluminum Hopper Windows – Common for basements or small openings
Glass Options:
- Low-E Glass for reducing UV and heat gain
- Double or triple glazing with argon gas for thermal protection
- Decorative glass for privacy or design
High-end systems like the TH-1450 Window Wall or EuroLine steel windows offer solutions that enhance both appearance and thermal efficiency.
Step 4: Scheduling and Prepping for Installation
Once your materials are ordered and built (which can take several weeks for custom items), you’ll schedule an installation date.
In the meantime, you’ll need to:
- Clear the area around the windows
- Remove curtains, blinds, or wall décor
- Move furniture to give installers space
- Disable security systems connected to the windows
Installers may cover nearby floors or furniture with drop cloths to protect them during the work.
Step 5: Removal of Old Windows
The first part of the installation is safely removing the old windows and doors. Installers will carefully detach the existing window frame, avoiding damage to the siding or trim.
If the project includes large openings like window walls or curtain wall windows, expect more time for safe removal and reinforcement.
Some signs of damage—like rotting wood or mold—may require additional prep work before installing the new unit.
Step 6: Installing the New Windows
With the old window out, it’s time to install the new one. Here’s what typically happens:
- The new window frame material is secured into place.
- Compression seals, foam insulation, or thermal break frames are added for an airtight installation.
- Glazing beads or caulking seal the outer edges to prevent air or water leaks.
- Hardware like crank handles, folding handles, or locks is installed and tested.
Custom installations—such as unitized curtain walls, architectural windows, or fixed sash frames—may take more time and skill to align and seal correctly.
Step 7: Final Touches and Clean-Up
After installation, your crew will finish by:
- Testing each window’s function
- Cleaning the new windows and doors
- Disposing of old materials
- Walking you through care instructions
You’ll get information about the warranty and any documentation for energy-efficient glass or compliance with local building envelope systems.
How Long Does It Take?
For an average home, replacing 10 windows can take 1 to 2 days. Larger or more complex projects—like those involving steel curtain wall windows or glass curtain wall units—may take longer.
Custom projects through Euroline Steel Windows and Doors include full project management, from design consultation to final walkthroughs, to keep things on schedule and smooth.
Aftercare and Maintenance
Even with strong materials like stainless steel or thermal steel, basic care helps extend the life of your windows.
- Clean glass with a non-abrasive solution
- Inspect seals and hardware styles yearly
- Lubricate crank systems and hinges as needed
- Reseal or touch up finishes if exposed to salt, moisture, or heavy weather
Ask your installer about specific tips for your window series, such as the 1150S Window Series or H3 casement windows.
Why the Right Installer Matters
High-quality replacement windows won’t perform well if installed poorly. That’s why working with a trusted team is key. Look for:
- Experience with custom steel casement windows
- Understanding of structural needs and durability standards
- Attention to sealing, support, and thermal expansion
- Familiarity with advanced systems like Vertical Structural Silicone Glazed or blast mitigation features
With Euroline Steel Windows and Doors, you get products designed for performance and a team dedicated to flawless execution. From classic awnings and window hoppers to bold curtain wall systems, we build with precision, design knowledge, and lasting quality.